It’s a new year – and that means it’s time to pack up the tinsel and the tree! But before you box up your baubles, candles, and family heirlooms until next December, take a look at your storage space and make sure it’s a safe place to store your holiday treasures.
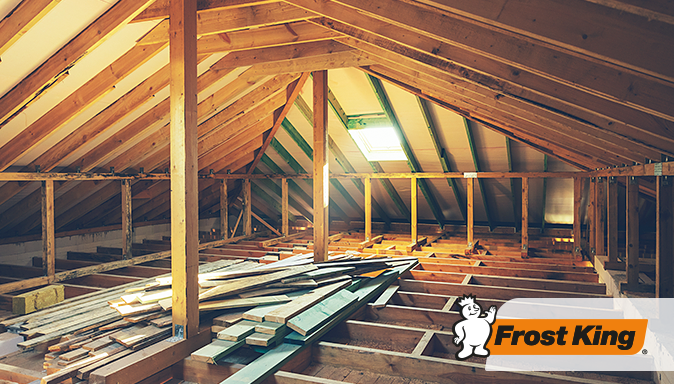
An unfinished attic is typically blazing hot in the summer and frigid in the winter—and if there is any insulation in place, it’s usually meant to keep the rooms below cool in the summer and warm in the winter, not to regulate the temperature in the attic itself. That means your attic will have wild swings in temperature that can ruin the decorations—we’re talking melted candles, shattered glass bulbs, and other disasters—that you’ve so carefully packed away.
Before you start adding insulation, the U.S. Department of Energy recommends air sealing areas where outside air is coming in to cut heating and cooling costs, improve durability, increase comfort, and create a healthier indoor environment. And it’s a relatively easy do-it-yourself project for a winter weekend that won’t only make sure your holiday valuables are stored more safely—it can stop energy loss from downstairs rooms as well.
How to Identify Air Leaks in Your Attic
You can hire a professional technician to conduct an energy assessment, including a blower door test, or if you want to DIY it, there are some easy ways to identify air leaks yourself.
Outside, check for gaps in all the areas where different building material meets, such as corners and where the chimney and siding meet.
Inside, check to see if the following areas have caulk and weatherstripping in place, and add or replace worn or missing caulk and weatherstripping as needed:
- Attic hatch, doors, and windows
- Door and window frames
- Pipes and wires
- Electrical outlets and switches
Dirty insulation is another surefire sign that cold air is making its way into your attic. Other ways to spot leaks is to look for daylight coming in anywhere in the space, or just use your hand to see if you feel cold air coming in from any of the above spaces.
How to Air Seal Your Attic
You don’t have to seal every single teeny leak; to get the most bang for your buck, focus on large gaps in the following locations:
- Behind and under kneewalls (the short walls under sloped attic ceilings)
- Attic hatch
- Wiring holes
- Holes for plumbing and pipes
- Dropped soffits that are open to the attic
- Recessed lights
- Furnace flue or duct chaseway (the hollow box or wall feature that hides ducts)
Energy Star suggests using weatherstripping and caulk to fill gaps and stop most air leaks:
- Use caulk to seal cracks and openings between stationary elements, like door and window frames, furnace and water heater pipes, and chimney flues.
- Use weatherstripping for things that move, like attic doors, hatches and windows
Gaps up to 1” can be filled with Frost King’s weather- and insect-resistant Expandable Foam Weatherseal, while larger gaps can be stuffed with insulation. This helpful video can help you decide which type of weatherstripping to use for your project:
Hire a professional to seal around light fixtures and other electrical devices that could be a potential fire hazard.
- Use metal or mastic tape to seal air leaks in ductwork
- If the windows in your attic are older and you’re not ready to replace them with new energy-efficient windows, you can install a Frost King Window Kit to block drafts and keep cold air outside.