At Frost King, we know that nothing matters more than the health and well-being of your loved ones—especially during these challenging days of the coronavirus pandemic.
If you are caring for someone with COVID-19 at home, the CDC recommends that the sick person is isolated in their own “sick room” or area away from others. But not all homes have a space that works to safely create an isolation room. What can you do to quickly and easily isolate one family member from the other when COVID hits home?
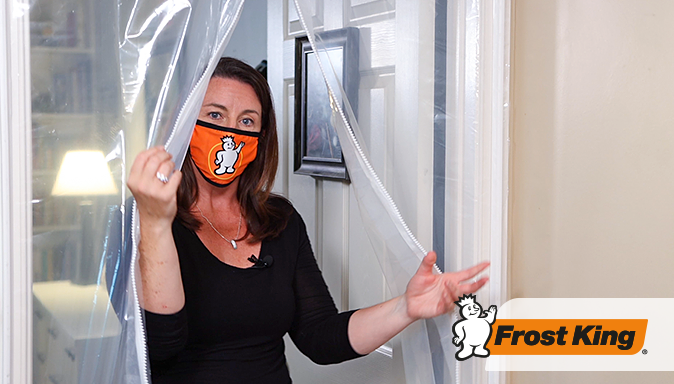
Frost King has come up with a simple, easy-to-install, zippered plastic isolation barrier that will help keep loved ones separate and contain the virus. Using inexpensive, easy-to-find products, this barrier can isolate an entire portion of your home and can be set up in an open doorway, a hinged door, or even a stairwell. Because it’s made of clear plastic sheeting, this isolation zipper door gives the sick room a more open feel and makes the sick relative feel less isolated because they can see and hear people passing by. It also lets in more light and allows the caretaker to quickly check in on the patient without disturbing them or having to mask up.
Watch our video for detailed, step-by-step instructions on how to use our products to create an isolation room in your own home, then follow these detailed directions.
Supply List
Note that the amount of materials you will need depends on the size of your opening, so measure carefully!
Instructions
Step 1. Install Snap Tracks Around the Top and Sides of the Door.
Working with one piece of Snap Track Strips at a time, separate the top part from the base and set it aside to be used for later. Next, peel the paper off the back of the track to expose the adhesive. Starting at the top of one side of the door, apply the track to the frame and press it into place evenly and firmly. Using a sharp utility knife, mark and cut the remaining pieces of Snap Tracks to cover the remaining length of the door frame. Repeat on the other side of the frame and along the top of the door.
Step 2: Measure Sheeting
Hold the sheet of plastic up in the door opening, allowing the bottom of the plastic to just skim the floor. Cut the sheeting so that the top extends 2 inches above the door. Measure the width between the two outer edges of the Snap Tracks installed on the sides of the door frame; add 4 inches to the width measurement and cut to size. Fold the sheet in half lengthwise and cut along the fold to create two long panels.
Step 3: Install the Zipper
Position the zipper along the length of one of the plastic panels, making sure that the zipper teeth are not covered by the plastic or the tape. Secure the plastic to the zipper with 15”-long lengths of weatherseal tape, firmly pressing to ensure that it sticks well. Reinforce the other side of the zipper with tape. Repeat the process with the other plastic panel. Zip the two panels together.
Step 4: Install the Sheeting
Position the sheeting with the top of the door frame so that the bottom of the sheeting skims the floor. Using a rubber mallet, gently tap the reserved top piece of Snap Tracks into place to secure the plastic sheeting to the top of the doorframe. Repeat on both sides; be careful to not pull the plastic too taut along the side or you will not be able to pull the zipper up and down. Trim the excess plastic.
For more ideas about ways Frost King products can keep you safer during the pandemic, read the article Salute to the Makers.
And stay safe and healthy DIYers!