It’s almost time to put the long, cold, seemingly endless winter of 2021-2022 behind us. As March warms up, set aside a Saturday (or two) to cross some proactive DIY home maintenance projects off your to-do list and give yourself a head start on getting your home ready for spring.
1. Take it from the top! Start by giving your gutters some attention. Over the winter, your gutters worked overtime collecting melted snow and ice from your roof and whisking it away from your home. As water flows into gutters, leaves, twigs, and other debris can get sucked in, too – so March is a good time to clear out the gunk so the gutters can handle April showers. While you can hire someone to do this job, if you’ve got a ladder, a bucket, a garden hose, and a gutter scoop you can easily do it yourself. We’ve got detailed directions on how to clean gutters here. Once you’re done, eliminate this chore from your future to-do lists by adding downspout guards, downspout screens, snap-in gutter screens and mesh gutter guards.
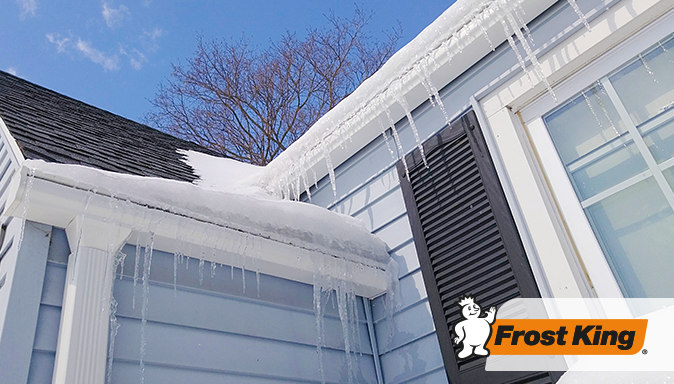
2. While you’re on the ladder, check for damage. Winter weather can do a number on your roof. Ice dams, icicles, heavy snow loads, hail, and wind storms can loosen flashing and shingles and damage your gutters, leading to leaks, mold, and other serious damage. Do a visual inspection for missing or loose shingles and flashing and replace or repair any issues. If you notice any roof damage, check inside for problems like condensation in attic spaces. Examine ceilings for discoloration or stains, leaks, or sagging, and take immediate action to find the source of the problem so you can fix it before you have a big—and expensive—repair on your hands. If ice dams formed on your roof over the winter, you should be sure to install a heat cable kit before next winter to protect your roof and gutters.
3. Look for air leaks. Chances are, there are areas all over your home that are leaking air—that means in the winter, heated air escapes and cold air gets in, and in the summer, air-conditioned air seeps out and hot air moves in. Not only do these leaks make your home less comfortable, they can be costing you big bucks: According to the U.S. Environmental Protection Agency's Energy Star program, between 25 and 40 percent of the energy you use to heat and cool your home is wasted through air leaks. Doors, windows, electrical outlets and light switches, light fixtures, and holes where plumbing, electrical wires, and television and phone lines enter your home are the leading culprits of air leaks—but fortunately sealing up these gaps is a relatively easy DIY project. Start by testing for air leaks all around your home, then get ready to seal them up. Here’s how:
• Check doors or windows for torn or missing weatherstripping and replace if needed. Keep doors and windows locked when they’re not in use so there’s a tight seal against the weatherstripping and the frame.
• Add Outlet Sealers behind the faceplates of outlets and light switches on exterior walls. They’re easy to install and can shave money off your heating and cooling costs.
• Recessed lights—especially if they’re installed below unheated spaces like attics and crawl spaces—can be a major source of air leakage. You can replace old recessed lights with air-tight, insulated models or you can seal existing lights by applying a thin bead of caulk around the cutout in the ceiling and pressing the trim ring into place in the caulking. Exterior lights, such as porch lights, are another common source of air leaks. In addition to seeping air, unsealed fixtures can let water and moisture into your walls. If you have light fixures that are not well sealed or if the caulk has deteriorated, recaulk around the top and sides; caulk the bottom, too, but leave a small gap to allow any moisture that gets trapped behind the fixture to drain out.
• Check for air leaks in exterior walls, especially in the basement. Bigger gaps or holes can be sealed with a foam sealant or Caulk Saver. Smaller gaps, such as those around pipes and wires on exterior walls, should be sealed with caulk.